

TechSphere Template Guidelines
This brief guide covers the basics of editing elements such as colors, fonts, static and dynamic content for the TechSphere Webflow template.
Buy TemplateFonts
How can I change the font?
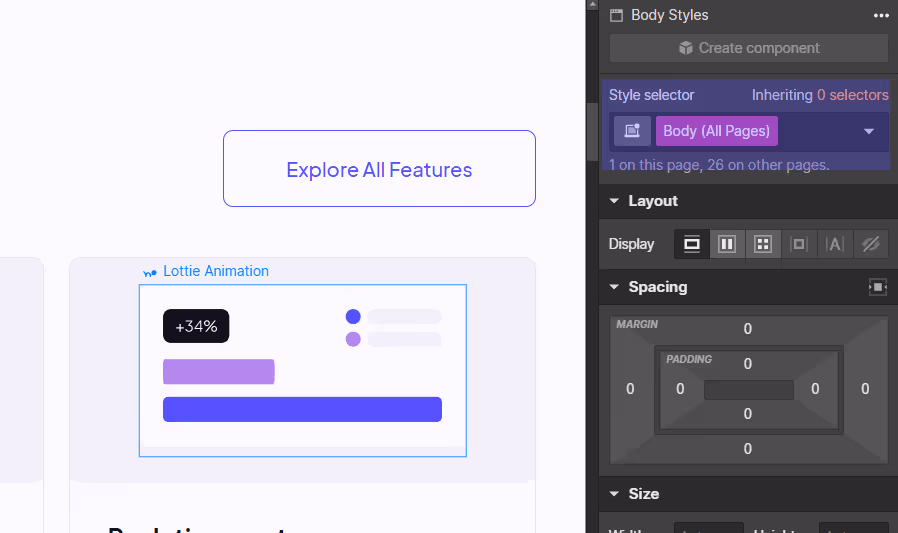
The TechSphere template uses one font size throughout the entire site, which is set up in the Body (All Pages) selector. This means you can easily update the font across the entire site with just one click.
Follow these steps to change the font:
- On any page, click the orange selector option in the top right of the Style tab, and then select Body (All Pages).
- Click on the "Typography" property in the "Styles" panel on the right-hand side of the Designer.
- Select the desired font from the dropdown menu.
- The font will be applied to all text elements throughout the website.
How can I upload custom fonts?
If you need a custom or premium font that is not available on Webflow, you can upload it to your project. Follow these steps:
- Go to Project Settings and click on the "Fonts" panel.
- Click on the "Upload Fonts" button and select the font file you want to upload.
- Once the font is uploaded, you can select it from the "Typography" property in the "Styles" panel.

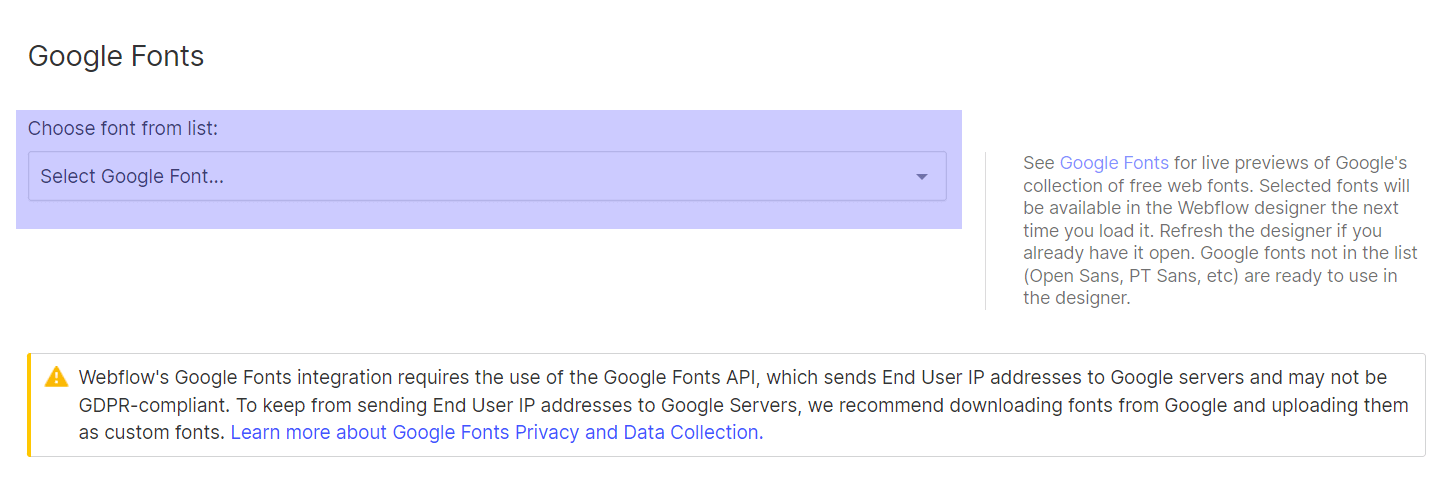
How can I upload a Google Font?
The Google Fonts library offers a wide range of fonts that are free for personal and commercial use. Click here to browse the Google Fonts library. If you want to use one of the fonts, follow these steps:
- Go to Project Settings and click on the "Fonts" tab.
- Find the "Google Font" section and select the font you want to use from the list.
- Select the variants and languages to include, then click "Add Font".
- The font will now be available in the "Typography" property in the "Styles" panel.
Content
Comparison of Static and Dynamic Content
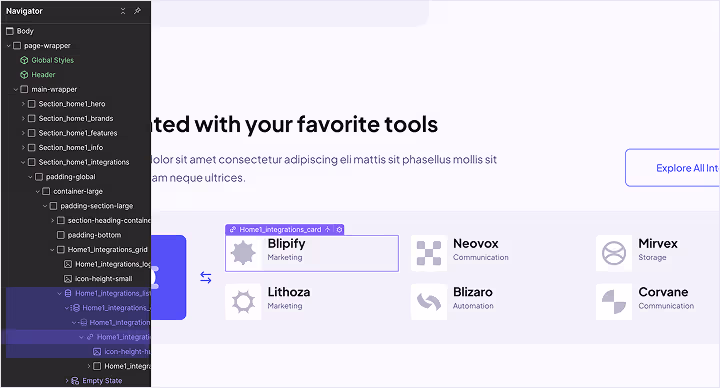
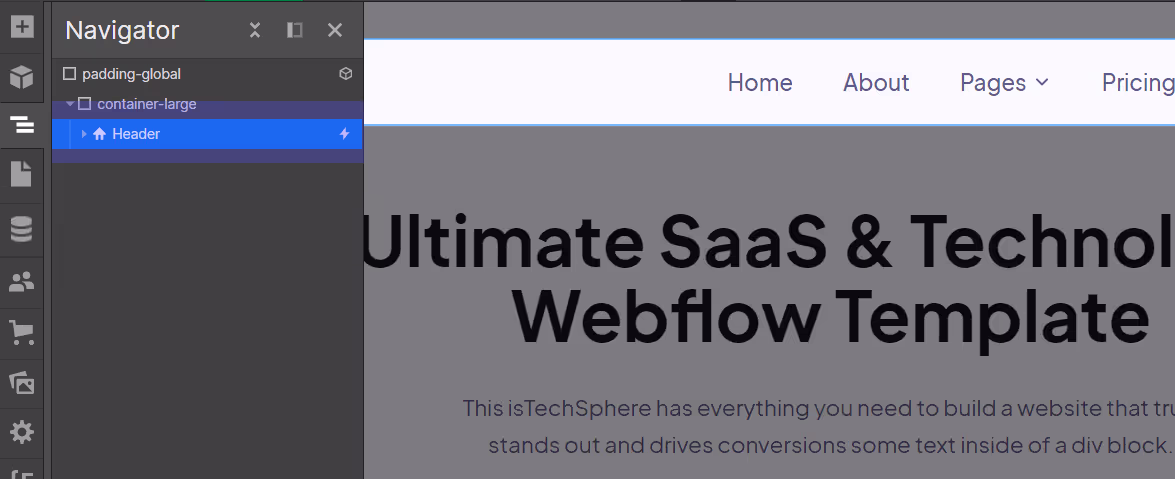
Static content refers to content that remains constant on every page. This can include elements like text, images, and videos that don't need to be updated regularly. The icon for static elements appears white in the Navigator panel.
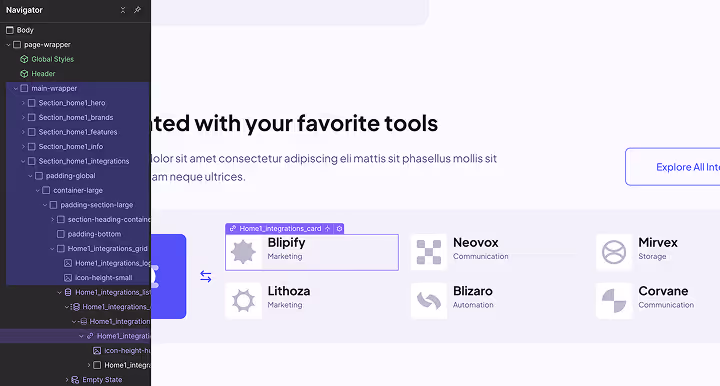
Dynamic content, on the other hand, refers to content that is generated on-the-fly by a content management system (CMS). This can include elements like blog posts, product pages, and other types of content that require regular updates. The icon for dynamic elements appears purple in the Navigator panel.
Static content: How can I update texts?
By following these simple steps, you can easily change the text for static content on your website in Webflow:
- In the Designer, navigate to the page with the text you want to change. You can do this by selecting the page from the Pages panel on the left-hand side of the screen.
- Click on the text element you want to change to select it. This will bring up the text editor, which will allow you to edit the text.
- With the text element selected, simply start typing to edit the text.
- Once you've made the necessary changes, be sure to save your work by clicking the "Publish" button in the top-right corner of the Designer. This will push your changes live to your website.
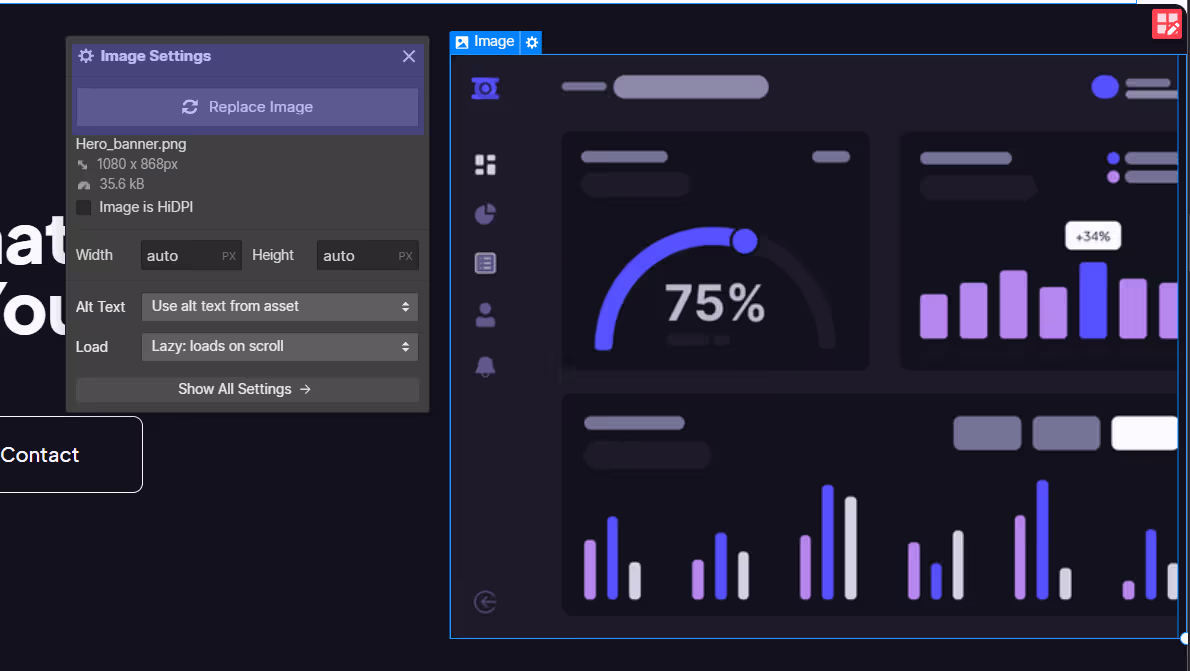
Static content: How can I update images?
To easily change the images for static content on your website in Webflow, follow these simple steps:
- In the Designer, navigate to the page with the image you want to change. You can do this by selecting the page from the Pages panel on the left-hand side of the screen.
- Click on the image element you want to change to select it. This will bring up the image editor, which will allow you to edit the image.
- With the image element selected, click on the "Settings" icon near the image. From there, you can upload a new image to replace the existing one.
- Once you're satisfied with the changes you've made, be sure to save your work by clicking the "Publish" button in the top-right corner of the Designer. This will push your changes live to your website.
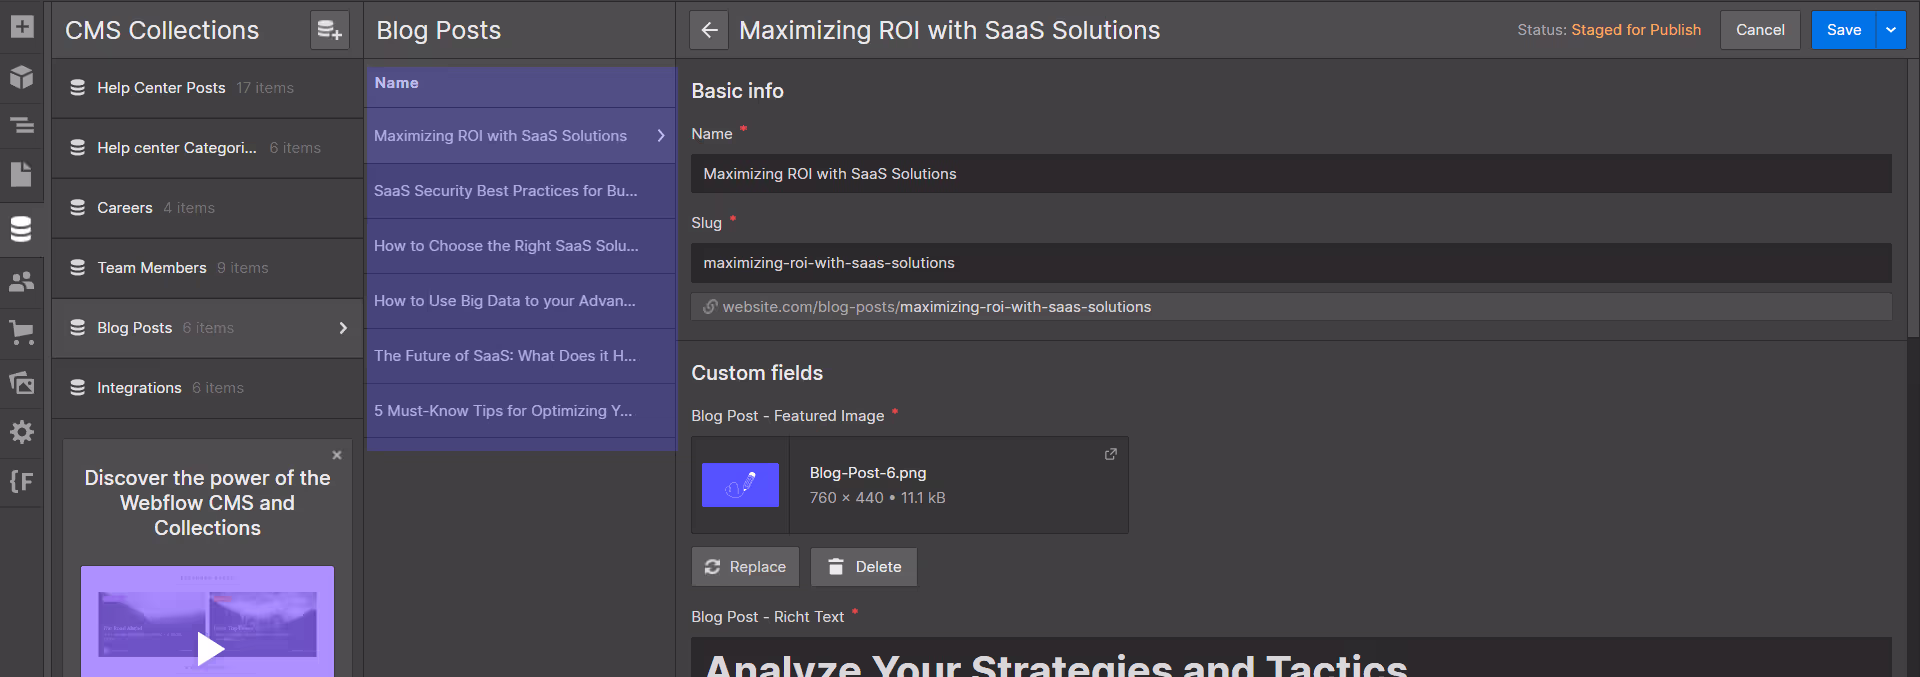
How Can I change content for Dynamic Pages?
This content should be updated directly in the CMS section. This makes it easy for you to update it as it will likely need constant updating, such as adding new blog posts. Follow these steps to update dynamic content:
- In the Editor, navigate to the CMS Collection containing the dynamic content you want to change. Select the "Collections" tab in the top menu, then click on the appropriate Collection.
- Select the CMS item you want to change.
- With the CMS item open, you will see all fields where you can update the content.
- Once you are satisfied with the changes you have made, be sure to save your work by clicking the "Save" button in the top-right corner of the Editor. This will push your changes live to your website.
Interactions
How Can I identify elements with interactions?
You can easily identify elements with interactions by looking for the small Interactions icon (a small thunderbolt) in the left sidebar Navigator.
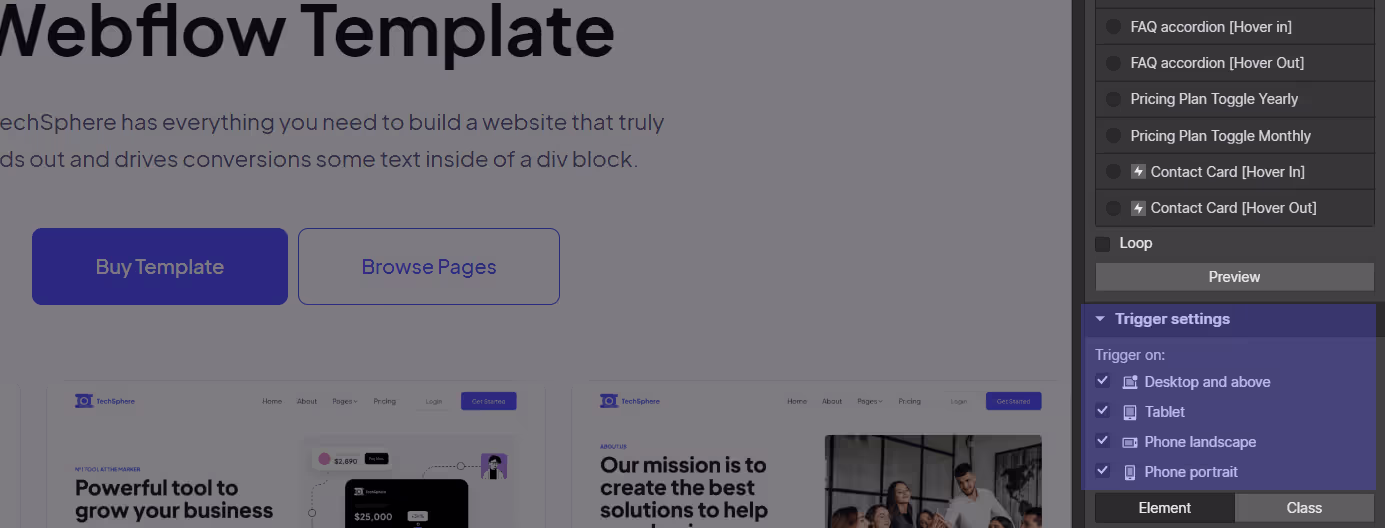
How can I turn off interactions for mobile or tablet view?
To turn off interactions on your website in Webflow, follow these simple steps:
- Click on the element with the interaction that you want to turn off.
- With the element selected, click on the "Interactions" tab in the right-hand panel.
- In the settings panel, scroll down to the "Trigger settings" section and toggle off the breakpoint where you would like to turn off the interaction.
- To see the changes you have made, switch to preview mode at the top of the Editor and test the interaction for desktop, mobile, and tablet views.
How can I delete interactions?
To delete interactions for certain elements, follow these simple steps:
- Click on the element with the interaction that you want to delete.
- With the element selected, click on the "Interactions" tab in the right-hand panel.
- Click on the interaction to expand its settings. At the bottom of the expanded settings, you'll see a "Delete" button. Click on this button to delete the interaction.
- To see the changes you have made, switch to preview mode at the top of the editor and test the interaction for desktop, mobile, and tablet views.
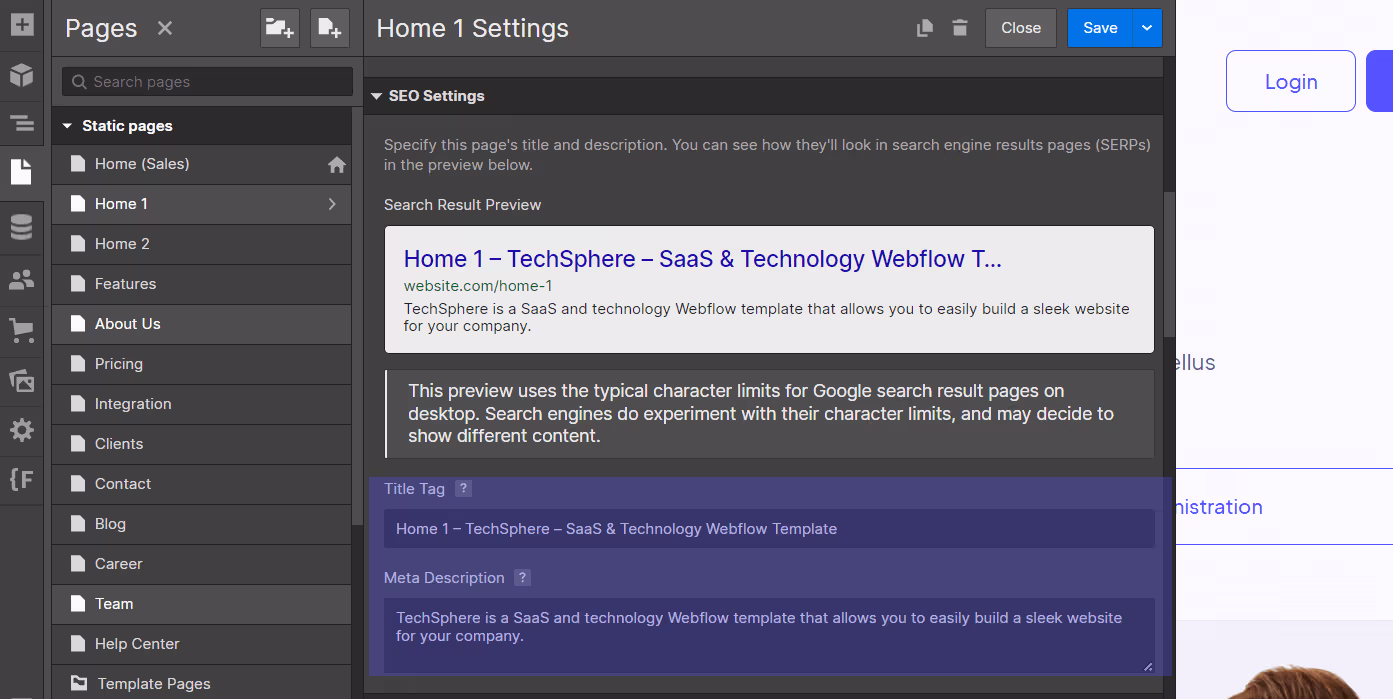
Page Setting and SEO
If you want to customize the title, description, and image that appears when you share your website on social media platforms such as Facebook, Twitter, etc., follow the instructions below.
Click on the gear icon in the Pages Panel to navigate to the Page Settings. Then, select the "SEO" tab where you can add your page title and meta description. You can also customize the Open Graph settings, which allow you to further customize how your website appears when it is shared on social media platforms like Facebook, Twitter, and LinkedIn.
Forms
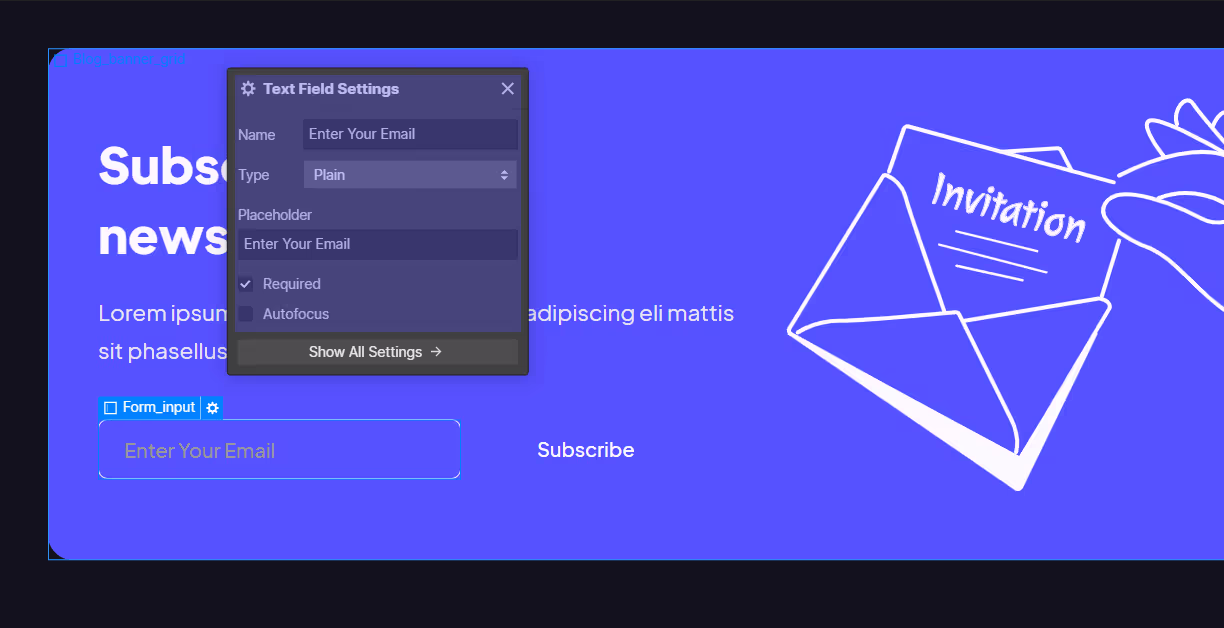
How Can I edit form elements?
To edit form elements, select the field you would like to change and click on the gear icon. From there, you can update the field's name, type, and placeholder text.
How can I set up form submission notifications?
To set up form submission notifications, follow these steps:
- Go to Project Settings and click on the "Forms" panel.
- Here, you can set up form submissions to be sent to an email address, with a subject line and email template.
- Once you are satisfied with the changes, republish the website and run tests to ensure that form submission notifications are working correctly.
Support
We hope these guidelines help you customize your Webflow website to your liking. If you have any further questions or need additional support, please send an email to hello@loonis.co or refer to the Webflow University.
If you need help building a unique and personalized version of TechSphere, or an amazing website designed and developed from scratch on Webflow, feel free to contact me at hello@loonis.co.